

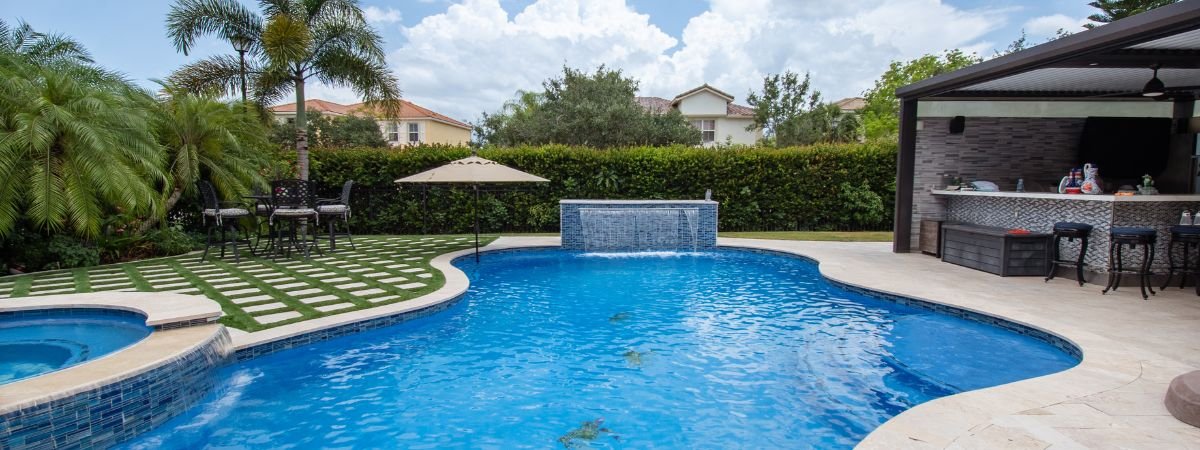
The summer heat eventually fades, and the cool autumn air takes over. This change in weather means it is time to think about your backyard swimming pool. Covering the pool alone isn’t enough to protect it through winter. Properly closing the pool helps protect it from costly winter damage.
Winterizing your inground pool helps prevent expensive repairs and makes reopening it much easier. Water expands when it freezes into ice. If water remains inside your underground plumbing lines, filtration equipment, or pump housing during a hard freeze, the expanding ice can crack the thick plastic and burst the pipes. These damages can lead to thousands of dollars in repair bills when the warm weather returns.
A proper closing strategy protects your structural components and keeps the pool water clean while it sits unused. This comprehensive guide walks you through every necessary step to protect your inground pool from freezing temperatures, algae growth, and structural damage.
Why Winterize Your Pool?
Closing a pool is not just about keeping leaves out of the water. The main goal is to prevent freeze damage to your pool and its equipment. Water expands by about 9% when it turns to ice. This expansion creates immense pressure that easily breaks PVC pipes, cracks concrete pool walls, and destroys expensive filtration units.
Proper winterization also saves you money and time in the spring. If you leave your pool uncovered or untreated over the winter, algae will take over. You will open your pool to find a dark green swamp filled with rotting organic debris. Cleaning that mess requires massive amounts of expensive chemicals and days of scrubbing. Closing the pool correctly ensures that the water stays clear and balanced, making the spring opening quick and simple.
Winterizing Supplies
You need to gather all your tools and chemical supplies before you begin the closing process. Having everything ready on your pool deck prevents unnecessary interruptions.
- Pool Testing Kit: A digital tester or liquid droplet kit to measure your pH, total alkalinity, and calcium hardness.
- Winterizing Chemical Kit: A package that typically includes winter shock, an algaecide, and a metal stain inhibitor.
- Pool Cover: A solid vinyl or mesh safety cover that fits tightly across your entire pool surface.
- Winter Expansion Plugs: Rubber or plastic expansion plugs designed to seal the return lines and cleaner lines.
- Skimmer Guard (Gizzmo): A hollow, plastic tube that screws into the bottom of your skimmer to absorb ice expansion pressure.
- Air Blower or Wet/Dry Shop Vacuum: A high-powered tool to blow all the standing water out of your underground plumbing lines.
- Pool Antifreeze: Non-toxic antifreeze designed specifically for swimming pool plumbing (never use automotive antifreeze).
Step 1: Clean the Pool
The closing process must begin with a spotless pool. Any dirt, leaves, twigs, or acorns left inside the pool will rot over the winter months. This organic matter consumes your protective chemicals and leaves deep stains on your plaster or vinyl liner.
- Skim the Surface: Use a fine mesh leaf skimmer net to remove all floating debris from the top of the water.
- Brush the Walls: Use a nylon pool brush to scrub the walls, steps, tile lines, and corners. This dislodges hidden algae spores and loose dirt.
- Vacuum the Floor: Run your pool vacuum over the entire floor to collect all sunken dirt and sand. If your pool has a massive amount of debris, set your multi-port valve to the Waste setting to bypass the filter and send the dirty water directly down the drain.
- Empty the Baskets: Empty all accumulated debris out of your skimmer baskets and the pump strainer basket.
Step 2: Balance the Water
Your pool water chemistry must be perfectly balanced before you add any winterizing preservation chemicals. Balanced water prevents scale buildup, shields the pool shell from staining, and allows your sanitizers to work effectively all winter long.
| Chemical Metric | Target Winterizing Range | Why It Matters For Winterization |
|---|---|---|
| pH Level | 7.2 to 7.6 | Prevents metal corrosion and stops scale formation on pool walls. |
| Total Alkalinity | 80 to 120 ppm | Stabilizes the pH level so it does not spike or drop during freezing weather. |
| Calcium Hardness | 200 to 400 ppm | Prevents the water from becoming corrosive and dissolving pool plaster. |
| Chlorine / Sanitizer | 1.0 to 3.0 ppm | Keeps the water sanitary and prevents early algae blooms. |
Use your test kit to check these levels. If your pH is too high, add a small dose of muriatic acid. If your alkalinity is too low, add sodium bicarbonate (baking soda). Allow the pool pump to run for at least two hours after adding any balance chemicals to ensure they mix completely throughout the pool.
Step 3: Add Winter Chemicals
Once the water is chemically balanced, you need to add heavy-duty sanitizers to destroy bacteria and stop algae from growing under the dark pool cover.
- Add Stain and Scale Inhibitor: Pour a bottle of metal chelating agent around the perimeter of the water. This stops iron and copper from settling out of the water and staining your pool walls.
- Shock the Pool: Add a powerful winter shock product, such as calcium hypochlorite or non-chlorine shock, to oxidize organic material. Dissolve granular shock in a bucket of water before pouring it into the pool to prevent it from bleaching your vinyl liner or plaster finish.
- Add Winter Algaecide: Pour a strong, long-lasting winter algaecide into the water. This specialized chemical remains active in cold water to stop algae spores from multiplying.
Safety Note: Do not add shock and algaecide at the exact same moment. High chlorine levels from the shock can break down the active ingredients in your algaecide. Add the shock first, let the pump run for several hours, and then add the algaecide right before you lower the water.
Step 4: Lower the Water Level
You must lower the water level in your pool to keep it away from the tile line and the skimmer opening. Water that freezes inside the skimmer throat can easily crack the plastic housing.
- For Solid Covers: Lower the water level to about 3 to 6 inches below the bottom of the skimmer opening.
- For Mesh Covers: Mesh covers allow rain and melting snow to drain through into the pool. Lower the water level slightly further, to about 8 to 12 inches below the skimmer, to accommodate this extra winter moisture.
Use your main drain or a submersible utility pump to drain the water down to the correct level. Never drop the water level completely down to the floor, as the weight of the surrounding soil can cause an empty inground pool to pop out of the ground.
Step 5: Drain the Equipment
Water trapped inside your pump, filter, and heater will crack the metal and plastic casings during a hard freeze. You must drain all these components thoroughly.
- Backwash the Filter: If you have a sand or DE (diatomaceous earth) filter, perform a thorough backwash cycle to clean the filter media. If you use a cartridge filter, remove the fabric elements, rinse them down with a garden hose, and store them in a dry place for the winter.
- Remove Drain Plugs: Locate the small plastic drain plugs at the bottom of your pool pump housing, your filter tank, and your pool heater. Remove these plugs and let all the trapped water pour out onto the ground.
- Store the Plugs Safely: Place the loose drain plugs inside the empty pump strainer basket so you do not lose track of them over the winter months.
- Disconnect the Chlorinator: If you have an inline chemical feeder or a salt chlorine generator cell, drain it completely and remove any leftover chlorine tablets.
Step 6: Clear the Plumbing Lines
This is the most critical stage of learning how to winterize an inground pool. You must force all the standing water out of the underground pipes using pressurized air.
1.Connect the Air Source: Attach a high-volume air blower or a heavy-duty shop vacuum hose to the drain plug opening on your pump or to the skimmer line. Turn on the machine to start forcing air through the plumbing system.
2.Clear the Skimmer Lines:Watch the pool skimmer. Air will push the water out, causing it to bubble and spray. Once you see only air blowing out, screw a Gizzmo expansion plug tightly into the bottom of the skimmer thread to create an airtight seal.
3.Clear the Return Lines: Keep the air blower running. Air will travel to your return lines (the jets where water shoots back into the pool). Wait until a continuous stream of air bubbles exits a jet, then push a rubber winter expansion plug into that opening and tighten the wing nut. Repeat this process for every individual return line jet, working from the closest jet to the farthest jet.
4.Clear the Main Drain: Direct the air flow down toward the main drain at the very bottom of the pool floor. You will see massive air bubbles erupting on the surface of the pool water. Let this run for about 60 seconds to clear the line, then quickly close the valve at your equipment pad to lock the air inside and keep the water from rushing back up into the pipe.
Step 7: Cover the Pool
The final step is protecting the open water from winter weather and falling debris by installing a strong pool cover.
- Inspect the Cover: Lay your pool cover out on your lawn and check it for holes, tears, or broken straps. Patch any damage before putting it over the water.
- Secure Safety Covers: If you use a modern safety cover, use your installation tool to hook the heavy spring straps over the brass anchors embedded in your concrete pool deck. Adjust the tension straps so the cover is taut like a trampoline.
- Secure Standard Tarp Covers: If you use a standard solid winter tarp cover, lay it across the pool surface so it floats loosely on the water. Fill heavy vinyl water bags and place them along the entire edge of the cover to weigh it down. Do not use bricks, cinder blocks, or metal weights, as they can slide into the pool and rip your liner.
- Install a Cover Pump: If you are using a solid vinyl cover, place an automatic submersible cover pump in the center. This pump automatically clears rain and melting snow off the top of the cover so the heavy weight does not snap the straps or pull the cover into the pool.
Conclusion
Taking the time to winterize your inground pool is the best way to safeguard your backyard investment. By following these cleaning, chemical balancing, and pipe-clearing steps, you prevent costly freeze damage and stop nasty algae growth before it starts. Instead of facing a stressful, expensive green swamp in the spring, you will set yourself up for a quick, effortless pool opening when warm weather returns.
If you are short on time, do not have the right tools, or simply want a professional to guarantee your lines are blown out perfectly, we are here to help. Contact us at Gator Pool Services today to schedule your professional pool winterization and let our expert team handle the hard work for you.